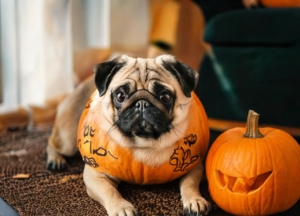
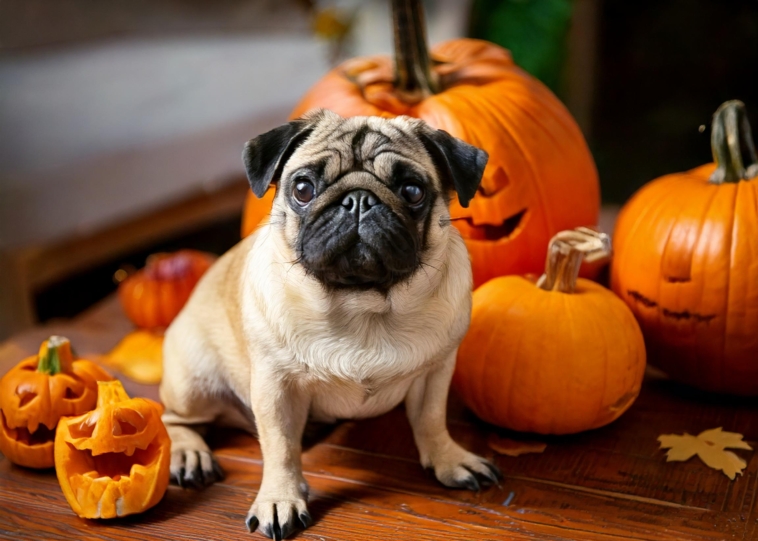
Introduction to Pug Pumpkin Stencils
Halloween isn’t just about candy and spooky costumes—it’s also prime time to show off your artistic genius by slicing vegetables in weird ways. Enter the pug pumpkin stencil: the ultimate way to blend Halloween fun with your dog obsession. Whether you’re a carving novice or a jack-o’-lantern ninja, pug stencils let you:
- Carve a squishy-faced masterpiece that honors your beloved canine.
- Choose from beginner-friendly pugs to ultra-detailed “pugs who’ve seen things.”
- Adorn your porch with an homage that howls “I love dogs and seasonal festivities.”
It’s the ideal solution to ward off ghosts but welcome fellow pug lovers.
Tools of the Trade: Your Pumpkin Carving Arsenal
To to make your pug pumpkin dreams a reality, stock up on these must-haves:
- Pumpkin (Medium to Large): Because small pumpkins are adorable but provide absolutely no real estate for pug cheeks.
- Pug Stencil Templates: Print those boys out—bonus points for using good ink so your pug doesn’t resemble a smudged potato.
- Pumpkin Carving Kit: Pick up a serrated knife, scoop, little saws, and tools that yell “this is serious business.
- Tape & Pushpins: Tape to secure the stencil; pushpins if you’re extra stabby.
- Marker or Pen: Sketch like you’re signing a yearbook for your pumpkin future masterpiece.
- Newspapers or Plastic Sheets: So your kitchen does not resemble a horror film set.
- LED Candle or Tea Light: Because burning pumpkins is not done.
Picking the Right Pug
Think of it as Pumpkin Carving Tinder—choose the pug stencil that suits your mood:
- Newb? Opt for “cartoon pug who just woke up.”
- Fancy pants? Opt for “realistic pug judging your candy hoard.”
- Tiny pumpkin? Don’t even dare to think about the complicated ones if you don’t want to drive yourself demented.
- Theme enthusiast? Coordinate your pug with the skeleton, ghost, or witch theme you’ve got happening.
Good planning prevents pug pumpkin panic.
Making the Stencil Template
Want to create your own pug stencil? Naturally, you do. Here’s how:
- Take a crystal-clear photo of your pug when it’s extra regal.
- Scale and print it—unless carving on watermelon, don’t make it too large.
- Glue it onto cardstock like a real crafting expert.
- Draw the basics: pug nose, eyes, wrinkles (the personality is in the folds).
- Cut out the features slowly—unless your pug is destined to resemble abstract art.
- Stick it to your pumpkin and tighten till it fits like a Halloween glove.
Precision here saves tears later.

Transferring the Design to Your Pumpkin
Now the real magic begins:
- Clean the Pumpkin: Nobody wants to carve on dirt. Give that gourd a good scrub.
- Attach the Stencil: Tape it tight like it’s trying to escape.
- Trace with Confidence: Use a pen, stylus, or the back end of a spoon if you’re desperate—but trace with pride.
- Peel Off the Stencil: Do it gently, like removing a band-aid you’re emotionally attached to.
Time to Cut
Now we’re getting surgical:
- Tape your stencil in place like it’s owing you money.
- Carve with a carving tool (or X-Acto knife for the brave) along those lines like your life is at stake.
- Sawing like a lumberjack will not win you the pumpkin beauty pageant—slow and steady cuts the pumpkin beauty contest.
- Clean up the cuts so your pug doesn’t resemble melted.
Detail Like a Pro
Ready to get that pug to pop? Pay attention to these:
- Tiny Tools: Imagine “dental hygienist,” not “chainsaw artist.”
- Depth Game: Carve in layers like you’re frosting a cake—with a pug inside.
- Highlight the Eyes & Wrinkles: Because nothing says “pug” like a squinty glare and face creases for days.
- Go Slow: This ain’t a contest. Unless you’re carving for a competition, in which case, good luck.
Keeping Your Pumpkin Alive (Sorta)
Carved pumpkins spoil quicker than milk on a warm day. Here’s how to keep the magic alive:
- Petroleum Jelly Rub: Keeps the cut edges hydrated. Don’t question it—just apply.
- Daily Bleach Spritz: Mold doesn’t like bleach. Bleach does.
- Cool Storage: Your refrigerator is officially a pumpkin morgue.
- Plastic Wrap: Wrap it like it’s Thanksgiving leftovers.
- Don’t Let it See the Sun: Unless you’re prepared for your pug to transform into a raisin.
Let It Glow
Time to illuminate your pug like the Halloween royalty it is:
- Utilize LED candles: Safer. Smarter. Won’t produce flaming pumpkins.
- Insert Carefully: Through the back, bottom, or however feels right.
- Adjust Lighting: You want spooky glow, not pug in a fog.
Show It Off, You Pumpkin Picasso
You did it. Now let that pug SHINE:
- Position it on a porch, patio, or right in your neighbor’s line of vision.
- Add fall foliage, little pumpkins, and plastic spiders to make it look like a “professional decorator” creation.
- Keep it secure: No open flames if children or inebriated uncles are present.
Common Carving Woes (and Fixes)
- Stencil Keeps on Moving? Tape it seriously. Spray adhesive if you must.
- Your Cuts Are Sad? Cut more carefully and slowly—this is not Whack-a-Mole.
- Stencil Tears? Print another one. Or laminate. You are an artist, not a quitter.
- Wet Paint Chaos? Apply light coats and patience. If that does not work, fake that it is on purpose.
Pug Variety Pack
Getting creative? Have a try at these pug personalities:
- Witchy Pug: Throw in a wonky hat and broom—spooky eyes get bonus points.
- Sleepy Pug: Etch one snoring on its back. Totally relatable.
- Rear-View Pug: Display the trademark curly tail. Chic and cheeky.
- 3D Carving: Give those facial folds some depth for added realism.
Pro Tips for Carving Glory
- Use real pumpkin carving tools, not your kitchen steak knife.
- Have a clean workspace. Particularly if children are present or your cat believes pumpkin insides are haute cuisine.
- Always, always supervise small children unless you’d prefer a visit to urgent care.
- Ensure the pumpkin is supported. Nothing spoils Halloween like carving a runaway gourd.
Conclusion: Go Full Pug-kin This Halloween
Whether you’re a seasoned carver or just here for the fall vibes, pug pumpkin stencils are your shortcut to seasonal greatness.
- Designs range from charmingly goofy to museum-worthy.
- You only need some basic tools, a decent pumpkin, and maybe a little bit of sanity.
- The steps are clear: Trace, carve, light it up, and bask in your pug-glory.


